You might not realize it, but the temperature of the water flowing through your pipes can affect the success of your repair efforts. When faced with a leaking pipe, you need to know which method works best for specific issues, whether pipe clamping or epoxy putty. Each technique has its own advantages and limitations, and understanding these can save you time and future headaches. So, how do you choose the right approach and guarantee a long-lasting fix? Let’s explore the essential steps and tools to confidently empower you to handle these repairs.
Identifying Common Pipe Issues
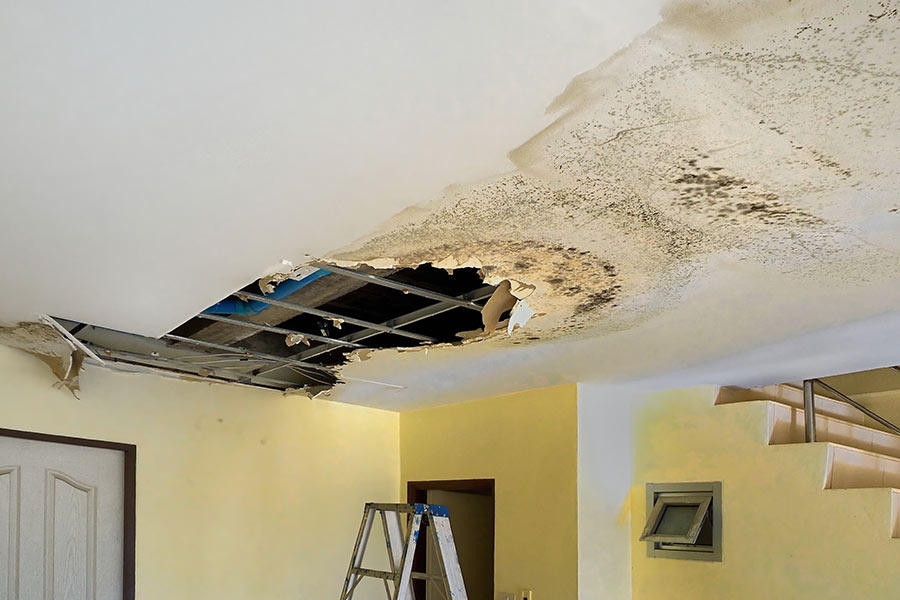
To identify common pipe issues effectively, you must understand the symptoms of leaks, corrosion, blockages, and joint failures. Leaks often manifest as damp spots on walls or ceilings, unexplained puddles, or increased water bills. Pay attention to water pressure fluctuations—these can indicate hidden leaks. Corrosion, on the other hand, can lead to discolored water or metallic taste and visible rust on exposed pipes. This is a red flag indicating potential structural weaknesses.
Blockages typically cause slow drainage or gurgling noises in pipes. You might notice water backing up in sinks or toilets, a clear sign the flow is obstructed. It’s essential to locate the blockage source quickly to prevent further complications. Joint failures can be more insidious, often resulting from thermal expansion or poor installation. Look for water staining near pipe joints or strange noises when running water.
Emergency Pipe Leak Solutions
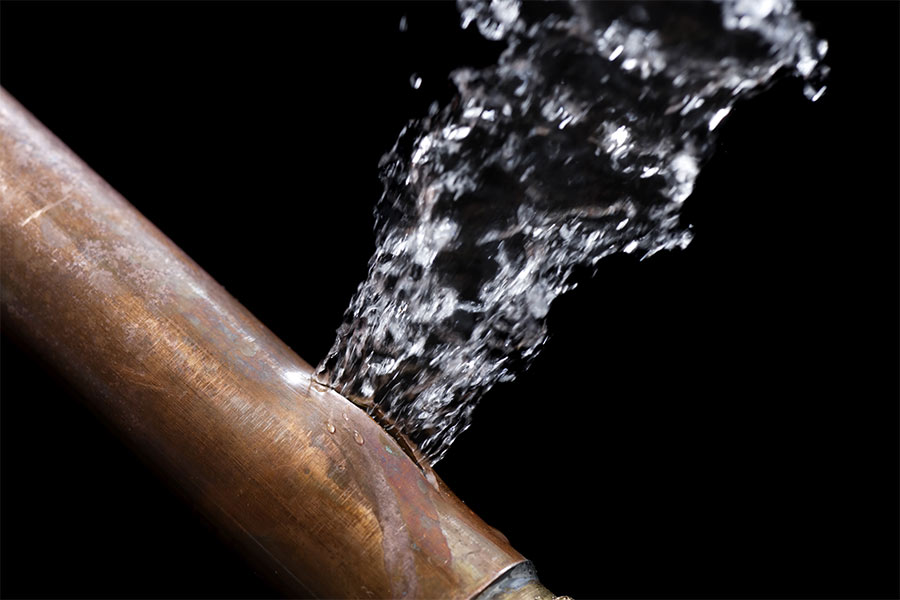
When you encounter a sudden pipe leak, quickly using temporary solutions like pipe clamps or epoxy putty can minimize water damage until a permanent repair is possible. First, locate the source of the leak by inspecting visible pipe sections for drips or moisture accumulation. Once found, shut off the main water supply to prevent further spillage.
Next, assess the leak size. For small leaks, epoxy putty is an effective solution. Knead the putty until it’s pliable and apply it directly around the leak, ensuring full coverage. Allow it to cure for the specified time on the product packaging. For larger leaks, a pipe clamp is more appropriate. Position the rubber gasket over the leak area and secure the clamp around the pipe, tightening it to halt the leakage.
Tools Needed for Repairs
The right tools are imperative for effective water pipe repair, ensuring you can tackle leaks efficiently and safely. Start with a durable pipe wrench, an indispensable tool for gripping and turning pipes. It’s essential for loosening old fittings or tightening new ones. Next, a pipe cutter will enable you to make precise cuts on copper, PVC, or PEX pipes without creating burrs that could cause further damage. For soldering copper pipes, a propane torch is necessary; it melts the solder to create a watertight seal.
Additionally, plumber’s tape, often called Teflon tape, is a must-have for sealing threaded connections and preventing leaks. A pipe deburring tool will help you smooth out any rough edges after cutting, which is crucial for ensuring a proper fit. A flashlight with a strong beam can be extremely helpful for detecting hard-to-see leaks.
Remember a reliable adjustable wrench for versatility in handling various nuts and bolts. A bucket and some rags will assist in managing water spills during repairs, and keeping your workspace clean. Equipping yourself with these imperative tools, you’ll be ready to serve others by effectively addressing water pipe issues.
Pipe Clamping Methods
Equipped with the right tools, you can explore effective pipe clamping methods to halt leaks and stabilize sections before temporary repairs temporarily. Start by selecting a pipe clamp that matches the diameter of your leaking pipe. Clamps are often crafted from stainless steel, lending durability and resistance to corrosion, guaranteeing a reliable temporary fix. Position the rubber gasket over the leak; this gasket acts as a sealant, preventing further water escape.
Center the clamp over the gasket, then tighten the bolts evenly using a torque wrench to achieve the specified torque setting. This guarantees the gasket compresses uniformly, maximizing the seal’s efficacy. Avoid over-tightening, damaging the pipe, or compromising the gasket’s integrity.
When working with copper, PEX, or PVC pipes, verify the compatibility of your clamp material. Confirm that the clamp’s material won’t cause galvanic corrosion for copper pipes. PEX pipes may require specialized clamps designed for flexibility and secure fit.
Monitor the clamped area periodically to confirm no further leakage occurs. This hands-on approach not only curtails immediate water loss but also extends the pipe’s serviceability until a more thorough repair can be executed.
Using Pipe Repair Tape
Pipe repair tape offers a practical and quick solution for sealing minor leaks and cracks. It provides a flexible and durable barrier that’s easy to apply to various pipe materials. You’ll find it particularly useful for PVC, copper, and galvanized steel pipes. Start by turning off the water supply to prevent further leakage. Clean the area around the leak; use a cloth to remove any dirt or moisture, guaranteeing ideal adhesion for the tape.
Cut a length of repair tape, leaving enough to wrap around the pipe several times. Begin wrapping the tape tightly around the pipe, about two inches from the leak. Overlap each layer by half the tape’s width, creating a secure seal. The self-fusing nature of most repair tapes means they bond to themselves, forming a watertight seal as you stretch and wrap it.
Once wrapped, let the tape sit for the manufacturer’s recommended time to guarantee it fully adheres and cures. With minimal tools and a straightforward application process, repair tape allows you to address leaks efficiently, minimizing downtime and water waste. This DIY approach empowers you to assist others by maintaining functional and safe water systems.
Epoxy Putty Applications
Epoxy putty offers a versatile and robust solution for sealing leaks and filling cracks in a wide range of pipe materials, making it an essential tool in any plumber’s arsenal. When you encounter a leak, verify the dry area by shutting off the water supply and thoroughly cleaning the pipe’s surface. This preparation guarantees peak adhesion. Epoxy putty is a two-part compound; knead until the color is uniform, signaling it’s ready for application.
Apply the putty directly over the compromised area, pressing it firmly to fill the gap and extend slightly beyond the edges for a secure bond. The putty sets quickly, usually in about 5 to 10 minutes, and fully cures within 24 hours, restoring the pipe’s integrity. It’s effective on copper, PVC, and galvanized steel, handling pressures up to 10,000 psi and temperatures up to 300°F.
Pipe Replacement Basics
When repairs don’t suffice, understanding the fundamentals of pipe replacement becomes essential for maintaining a reliable plumbing system. Begin by identifying the damaged pipe segment. Turn off the water supply to prevent flooding, ensuring the area is dry and accessible. Use a tubing cutter to remove the compromised pipe section, cutting squarely for ideal fit and joint integrity.
Selecting the right replacement pipe is vital. Opt for materials compatible with your existing plumbing. Copper, PEX, and PVC are common choices with specific benefits. Copper is durable and heat-resistant, PEX offers flexibility and ease of installation, and PVC is cost-effective for non-potable applications. Keep in mind local codes and standards when choosing materials.
Once you’ve cut the replacement section to size, deburr the edges to guarantee a smooth fit. Dry-fit the pipe to confirm alignment, avoiding stress points that could lead to future leaks. Depending on the pipe material, secure the connections with suitable fittings—compression, push-fit, or threaded. Always double-check fittings for tightness and proper sealing to promote longevity.
Soldering Copper Pipes
To successfully solder copper pipes, clean the pipe ends and fittings with an emery cloth or brush to guarantee a strong, leak-proof joint. Ensuring the surfaces are free from oxidation and debris is essential for the solder to adhere properly. After cleaning, apply flux to the prepared surfaces. Flux prevents oxidation during heating and aids solder flow into the joint, securing a durable bond.
Next, assemble the pipe and fitting, confirming they fit snugly. Use a propane torch to heat the joint area evenly. Keep the flame moving to avoid overheating any section. Once the flux begins to sizzle, touch the solder to the joint. The solder should melt and be drawn into the joint by capillary action. Remember, the heat should come from the pipe, not the flame.
After soldering, allow the joint to cool naturally. Avoid using water or a fan to hasten cooling, as this can compromise the integrity of the joint. Inspect your work for any gaps or insufficient solder coverage. With these steps, you’ll secure a professional-grade repair, enhancing the home’s plumbing efficiency for those you serve.
Fixing PVC Pipes
Repairing PVC pipes often involves cutting out the damaged section and using solvent cement to secure new fittings and replacement pipe segments. Start by turning off the water supply. Use a pipe cutter for precise cuts, ensuring you remove the damaged portion entirely. Measure the gap and cut a new PVC pipe segment to fit snugly. Deburr the cut edges to prevent leaks.
Apply primer to both the new pipe’s outside and the fitting’s inside. This softens the PVC, enhancing the solvent cement’s effectiveness. Once primed, promptly apply solvent cement to both surfaces. Align the pipe and fitting, then push them together with a slight twist to distribute the cement evenly.
Hold for 30 seconds to make sure the connection sets properly. The solvent cement chemically bonds the PVC, creating a watertight seal. Allow the joint to cure for at least 2 hours before turning the water back on.
For larger repairs, consider using a PVC slip coupling or repair coupling. These fittings allow for easy insertion and alignment. Following these steps will restore functionality, ensuring those relying on your expertise enjoy uninterrupted water service.
Preventing Future Pipe Leaks
While repairing PVC pipes guarantees immediate functionality, implementing preventive measures is key to minimizing future leaks and maintaining a robust plumbing system. As someone who values serving others, you’ll find that a proactive approach safeguards your home and guarantees your peace of mind. Here’s how you can fortify your plumbing infrastructure:
- Regular Inspections: Schedule routine checks to detect wear and tear. Look for signs of corrosion, moisture, or unusual noises. Early detection can prevent costly repairs down the line.
- Pressure Regulation: Install a pressure regulator to maintain ideal water pressure. Excessive pressure can strain pipes, leading to leaks. Keeping pressure levels in check prolongs pipe longevity.
- Pipe Insulation: Insulate exposed pipes, especially in unheated areas. Pipe insulation prevents freezing during colder months, a common cause of bursting pipes and subsequent leaks.
- Avoid Chemical Drain Cleaners: Use enzyme-based cleaners instead. Harsh chemicals can corrode pipes over time, compromising their integrity and leading to leaks.
Conclusion
In the epic battle against household leaks, you’re now armed with techniques that could make a plumber envious. With your newfound skills in clamping, taping, and epoxying, those pesky leaks don’t stand a chance. Preparation is key; a clean, dry surface is your best ally. While you’re not building the Hoover Dam, these methods will hold the tide until permanent solutions are in place. Keep your toolkit ready, and you’ll conquer any leak that dares to appear!