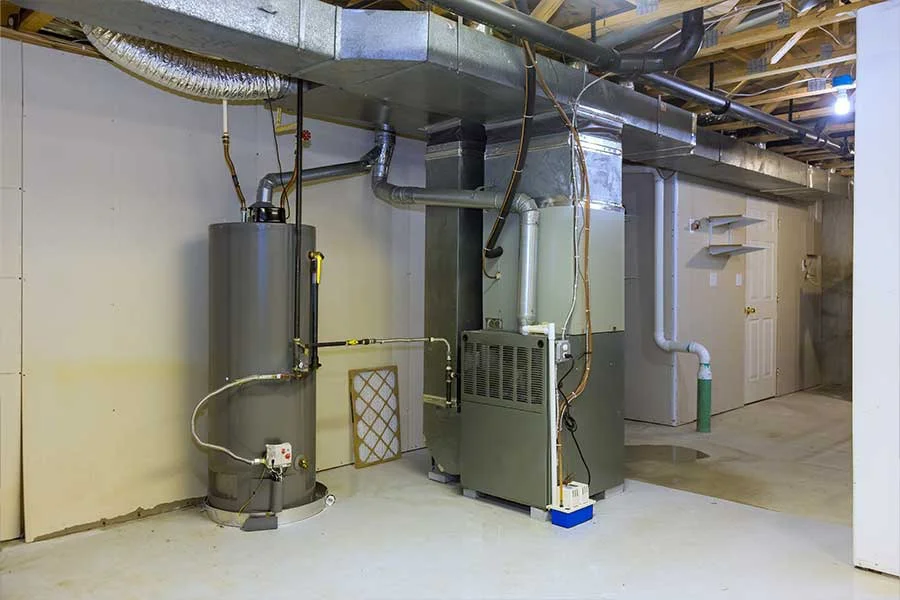

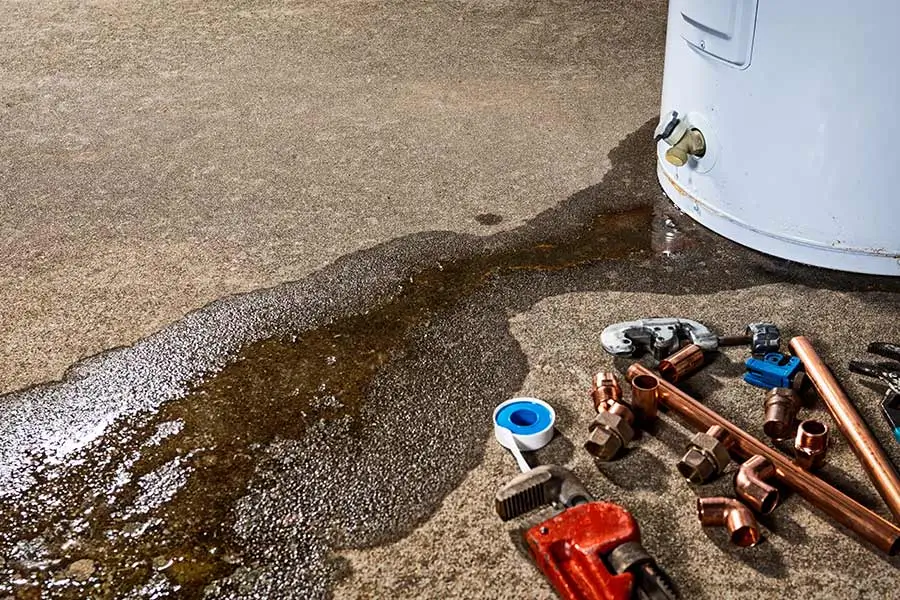
You’ve noticed that puddle beneath your water heater, and it’s time to tackle the issue before it becomes a bigger problem. Fixing a leaky water heater might seem intimidating, but with a structured approach, it’s manageable. Start by gathering the right tools and ensuring the power and water supply are off, prioritizing safety. Draining the tank is your next move, but what’s involved in that process? And once the water’s out, how do you pinpoint the source of the leak? Understanding these steps will empower you to address the problem effectively and prevent future headaches.
Gather Necessary Tools
Before fixing your leaky water heater, ensure you’ve gathered essential tools like a wrench, a plumber’s tape, and a bucket. These are the basics you’ll need to address most leaks efficiently. Having the right tools on hand will save you time and help you tackle the problem effectively, minimizing any disruption to your household’s hot water supply.
Begin by selecting a reliable wrench, as it’s vital for tightening loose connections that often cause leaks. A high-quality adjustable wrench works well for different sizes of fittings. Plumber’s tape, commonly known as Teflon tape, is indispensable for sealing threaded connections and preventing future leaks. Wrapping it around threads before reassembling fittings guarantees a watertight seal.
A bucket is necessary for catching any water that escapes during the repair process. This helps keep your work area dry and safe, reducing the risk of slips or water damage. Additionally, consider having a pair of pliers for hard-to-reach areas and a screwdriver for removing any panels or covers. Confirming these tools are ready will streamline your repair process, allowing you to serve your household effectively.
Turn Off the Power Supply
To guarantee safety during your repair, disconnect the power supply to the water heater by switching off the appropriate circuit breaker or unplugging the unit. This step is vital to prevent any electrical hazards while you’re working. Locate your home’s electrical panel, often found in basements or garages, and identify the breaker labeled for your water heater. Flip it to the ‘off’ position. If your water heater plugs into an outlet, simply unplug it.
Consider using a voltage tester to confirm there’s no power running to the heater. This precaution verifies you’re working in a completely safe environment. If you’re unfamiliar with your home’s electrical layout, consult the panel’s labeling or a wiring diagram. Sometimes, the labeling might be unclear or incomplete; don’t hesitate to ask for help from someone knowledgeable in electrical systems.
Shut Off Water Source
Locate and turn off the water supply valve to your water heater to guarantee safety and prevent further water damage. Start by identifying the cold water inlet pipe, usually at the top of the heater. It should have a shut-off valve, often a gate valve (which you turn clockwise) or a ball valve (which you turn 90 degrees). Applying gentle pressure with a wrench can help if the valve is stuck, but be careful not to damage it.
You’ll need to turn off the main water supply in homes where the water heater doesn’t have a dedicated shut-off valve. Find the main valve, typically located in a basement or near the water meter, and rotate it clockwise until fully closed. Confirm the water is off by opening a faucet; water should stop flowing quickly.
Drain the Water Heater
Start by attaching a garden hose to the drain valve at the bottom of the water heater to direct water safely to a nearby drain or outside area. Make certain the hose is secure to avoid any spills or further damage. Open the drain valve, allowing the water to flow out. This step is essential for inspecting the heater without getting drenched. While draining, keep an eye on the process to prevent any unexpected issues.
To guarantee a smooth drain process, follow these steps:
- Turn off the water heater’s power: Switch off the circuit breaker for electric heaters. Set the gas valve to the ‘pilot’ position for gas heaters.
- Release the pressure: Open a hot water tap in your home to release built-up pressure in the tank.
- Monitor water clarity: Observe the water exiting the hose. If it appears rusty or contains sediment, it’s a sign of sediment buildup.
- Check hose placement: Confirm the hose end is securely positioned in a drain or outside area to prevent accidental flooding.
Inspect for Visible Leaks
With the tank drained, carefully examine the water heater’s surfaces and connections for any visible signs of leaks. Start by inspecting the tank’s base, where leaks often occur due to corrosion. Look for rust or water pooling, which indicates a compromised tank. Next, check the area around the heating elements. These elements can sometimes loosen, allowing water to escape. Tighten them if necessary, but be mindful of overtightening, which could cause further damage.
Move on to the pipes connected to the water heater. Look for moisture or corrosion at the pipe joints and connections. Minor condensation is normal, but persistent wetness suggests a leak. Tighten any loose fittings with a wrench. Also, inspect the drain valve at the bottom. It should be fully closed and dry; if it’s leaking, it might need replacement.
Lastly, examine the seams and welds along the tank. Over time, these areas can develop cracks. Use a flashlight to make sure you don’t miss any hairline fractures. Identifying and addressing these visible leaks promptly is essential for efficient water heating and preventing larger issues.
Check the Pressure Relief Valve
Ascertain the pressure relief valve functions correctly by lifting its lever and checking for a quick water discharge. If water flows out smoothly, your valve is likely in good shape. If not, it might be stuck or clogged, indicating it may need cleaning or replacing. This valve is essential for preventing excess pressure buildup inside your water heater, which can lead to dangerous situations.
To effectively assess and address issues with the pressure relief valve, follow these steps:
- Turn off the power supply: Verify the heater is off to avoid electrical hazards.
- Close the water intake valve: This prevents more water from entering while you work.
- Position a bucket under the discharge pipe to catch any water released.
- Check for signs of leaks: Look for moisture around the valve or the floor beneath it.
Replacing the valve if it is faulty can prevent future leaks or damage. For those enthusiastic to serve others, verifying a safe and efficient water heater conserves energy and promotes a secure environment. With these steps, you’ll contribute to a safer, more sustainable home.
Examine Inlet and Outlet Connections
Once you’ve confirmed that the pressure relief valve is functioning properly, inspect the inlet and outlet connections for any signs of wear, corrosion, or leaks to prevent future water damage and maintain efficiency. Start by turning off the water supply to the heater to guarantee safety. Use a flashlight to examine closely where the pipes connect to the heater. Look for rust or mineral deposits, indicating water seeping through the connections.
If you notice any discoloration or moisture, tightening the connections using an adjustable wrench is essential. Gently turn the fittings clockwise to secure them, but be careful not to overtighten them, as this could damage the connections. If tightening doesn’t resolve the problem, the fittings might need replacement.
For those who enjoy helping others, consider replacing worn-out connections with high-quality brass or stainless-steel fittings to assure long-term durability. This proactive step prevents leaks and provides peace of mind for the homeowner. Use plumbing tape on the threads to create a watertight seal when replacing. By addressing these potential issues now, you’ll extend the water heater’s life and save on costly repairs.
Assess the Drain Valve
Start by checking the drain valve at the bottom of your water heater for any leaks or signs of wear, as this is crucial for preventing water damage and guaranteeing efficient operation. A faulty drain valve can lead to unnecessary water loss and potential damage to surrounding areas. Here’s how you can assess and address any issues with the drain valve effectively:
- Visual Inspection: Look for any water pooling beneath the valve or visible cracks and corrosion on the valve itself.
- Touch Test: Gently run your fingers around the valve to detect any moisture, which may indicate a slow leak.
- Tightness Check: Confirm the handle is securely closed. Sometimes, a slightly open valve can cause leaks.
- Function Test: Carefully open the valve to drain a small amount of water into a bucket, checking for smooth operation and stopping leaks once closed.
Tighten Loose Fittings
To prevent leaks and guarantee peak performance, check and tighten any loose fittings on your water heater using the appropriate tools. Begin by gathering a wrench or pliers suitable for your heater’s fittings. These tools will help you confirm a snug fit without over-tightening, which could cause damage. Focus on areas where pipes connect to the heater, including the inlet and outlet fittings.
As you inspect each fitting, look for any signs of moisture or corrosion, as these indicate potential weak spots. If you notice rust or mineral buildup, gently clean the area before tightening. Make minor adjustments to avoid damaging threads or creating stress fractures when turning the fitting.
If a fitting remains loose despite your efforts, consider using a plumber’s tape to enhance the seal. Wrap the tape clockwise around the threads before re-tightening. This technique effectively creates a watertight seal and prevents future leaks.
Your attention to detail during this step will confirm that the water heater operates efficiently and safely. By addressing loose fittings, you’ll prolong the heater’s life and maintain a reliable hot water supply for those you serve.
Test for Leaks Again
After securing all fittings, turn on the water supply and closely monitor each connection for any signs of leaks. A keen eye at this stage guarantees your earlier efforts weren’t in vain. Use a flashlight to inspect those hard-to-see areas. If you spot any leaks, act promptly to avoid further complications.
Here’s what to do next:
- Check for drips: Run your fingers along the pipes and connections. Feel for moisture that indicates a potential issue.
- Listen for hissing sounds: Sometimes, leaks make faint noises. Listen closely to the fittings.
- Look for pooling water: Check the base of the water heater. Puddles or dampness can point to a leak.
- Inspect the pressure relief valve. If it is not properly sealed, this valve often leaks. Verify it’s dry and secure.
If you discover any persistent leaks, you may need to re-tighten or replace the problematic fittings. Resolving these issues thoroughly is essential, as neglecting them can lead to water damage or increased utility bills. By addressing leaks now, you’re maintaining the efficiency of your water heater and serving the home’s occupants by guaranteeing their comfort and safety.
 412-2456.webp)
Conclusion
You’ve tackled your leaky water heater with the precision of a master plumber. By following these steps, you’ve fixed the immediate issue and fortified your home against a flood of future problems. Remember, regular maintenance is your secret weapon in keeping things running smoothly. If you ever find yourself knee-deep in trouble again, you have the know-how to save the day. Keep your toolkit handy, and stay proactive!